
To activate and set the PUSH notifications for iOS you need to have an iOS developer account and a Mac computer to be able to create the PUSH certificate.
If you have followed the guide to create your Developer certificates and the Provisioning profile for your App you will have an App ID created for your App.
Select Your App in the App IDs menu inside identifiers and click on the edit button:

Inside the App ID configuration, navigate down until the "Push Notifications" section and enable it, then, inside the Production SSL certificate, click on create certificate.
From here, you have to follow the same steps you did to create your developer certificate
To create the certificate it will ask you for a CSR file (you can use the same one that you used for your developer certificate).
From iOS 10 is important that you generate this certificate before generating the provisioning profile to work correctly.
With this step, you have already generated your iOS Push certificate, but it is not yet in P12 format. To convert it to that format, download the certificate and open it on your Mac computer. Mac’s Keychain will open and you will be able to verify that your "Apple Production iOS Push Services: {Your App bundle}" has been added to your keychain.
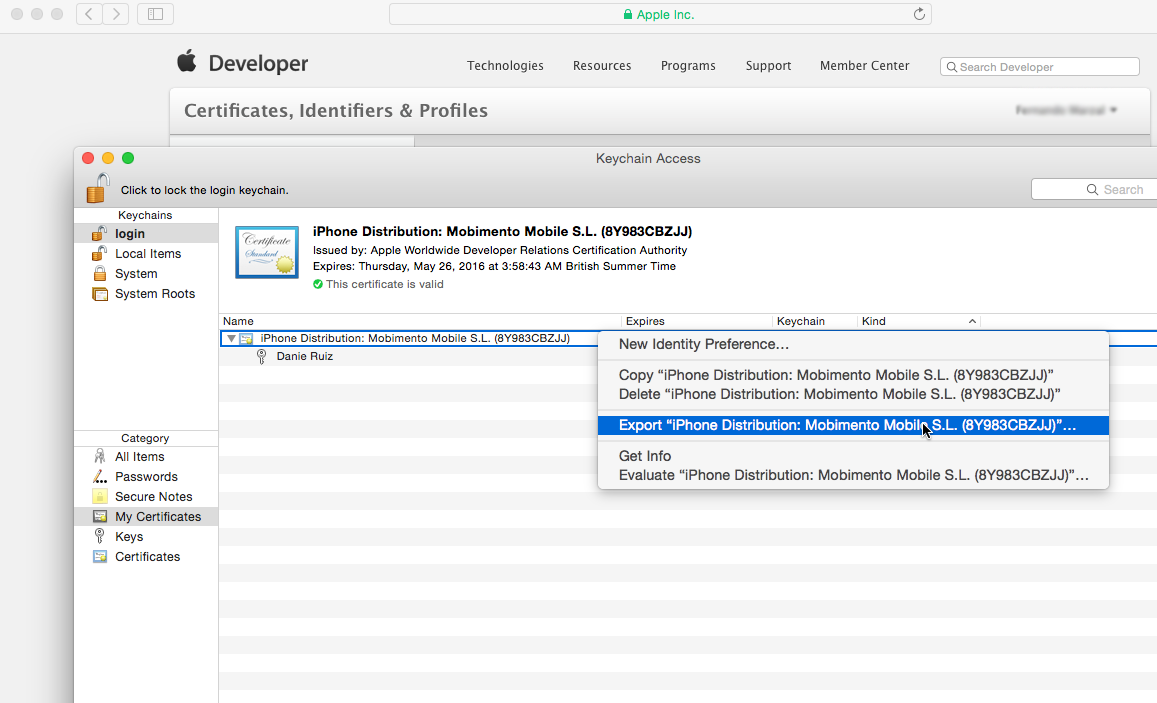
Right-click the certificate and select export. Choose the name you want for the file (from Mobincube we recommend you to use your App name followed by PUSH (MyAppNamePUSH.p12). First, you will be asked a password for the file. Leave it blank so the Mobincube generator can open the file. You will be asked then for the computer’s password to authorize the export.
Yeahhh! We got all we need but what do I do with this file? The last step is to upload it to Mobincube (till March '18) or Firebase (from March '18).
From here only for old mobincube notifications:
Go to the "Tools" panel of your App and enter in the Notifications panel. There, you will find the settings button (Gears icon):

That's the panel where you configure both Android notifications and iOS. Click on the Upload File button in the Apple side and upload your newly generated PUSH.p12 file then click Accept.

Common issues:
This configuration usually creates a lot of issues to our users. Here are the more common ones.
Problem: I don't receive the push notifications on my iPhone / iPad
Cause: You may not have uploaded the file in Mobincube before publishing / generating your IPA file and therefore the App is not configured to receive PUSH notifications or your PUSH certificate has expired.
Solution: Check that your certificate is active and valid and that it's correctly uploaded in Mobincube. Publish a new version of your App in Mobincube and then generate a new IPA file and upload it to the AppStore.
Problem: I get an error while uploading the PUSH.p12 file and it doesn't let me upload it to Mobincube.
Cause: This issue is caused because you are not uploading a PUSH.p12 file but another kind of .p12 file (mostly your developer .p12) or it's the PUSH.p12 file of another App (with a different bundle).
Solution: Double check that your are uploading the right file and if the system keeps rejecting it, start over and create it again. Something went wrong in the creating of the file.