
To create a Navigation Bar, we have to click on the sidebar commands on the “Screen Properties” icon.
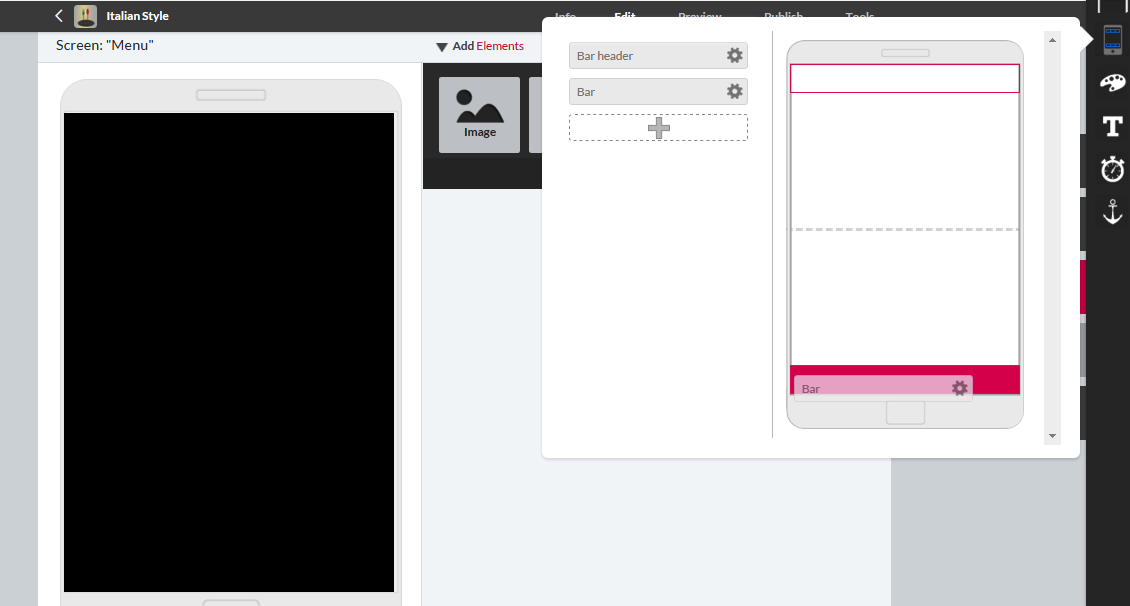
When we click on the Bar Manager icon, a window with a blank app screen will open.
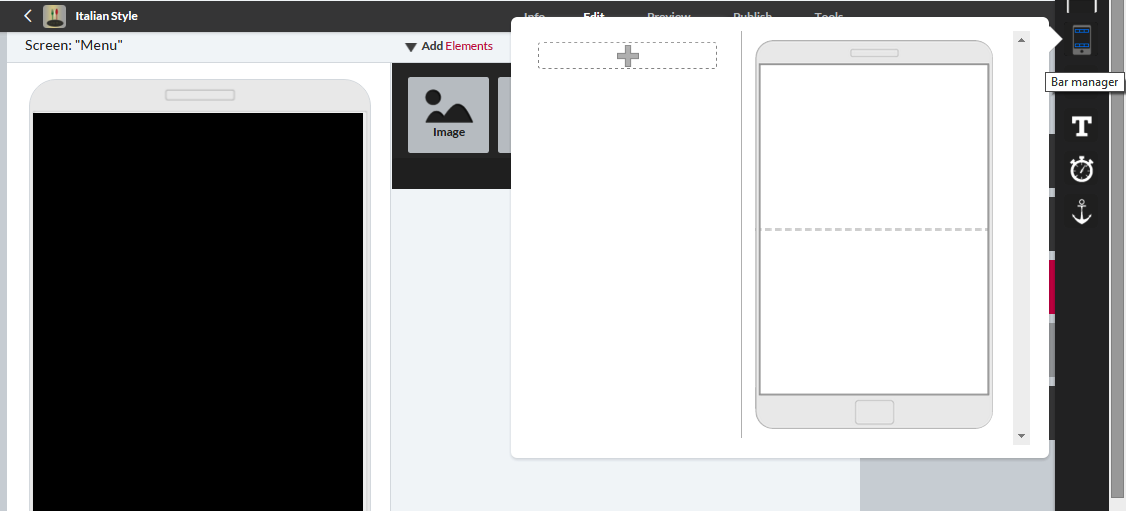
By clicking on the “+” button we can create a new navigation bar.
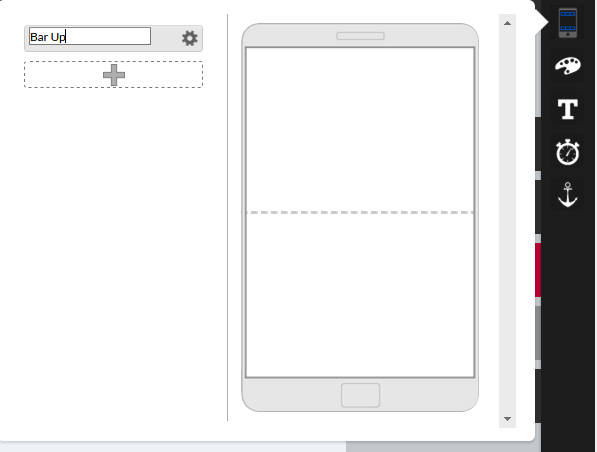
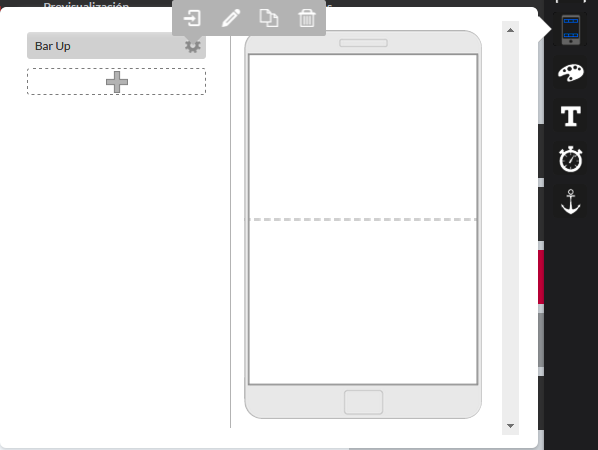
In the setting of the bar we can insert the Name for the bar, so you can use this bar in different screens. This button will allow us to edit, rename, clone and delete the bar.
Now let’s create our first navigation bar:
When clicking on the first EDIT button of the bar setting a blank window will be opened in the editing panel and we can insert all the elements inside, in order to create a menu bar.
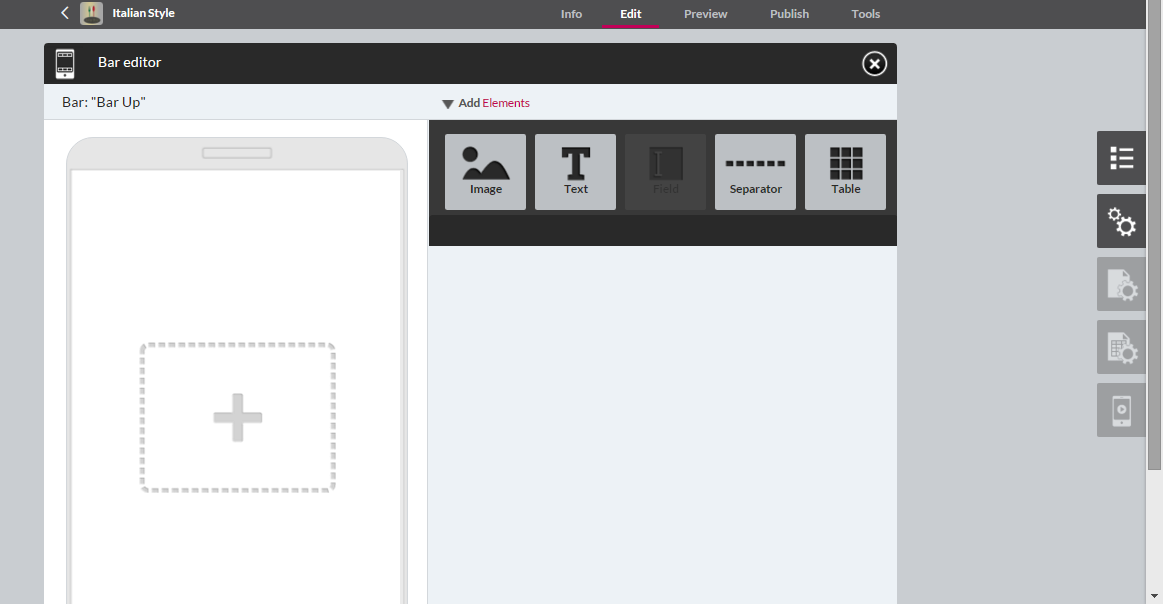
It is a good rule to use a table in which to insert the different icons of the bar.
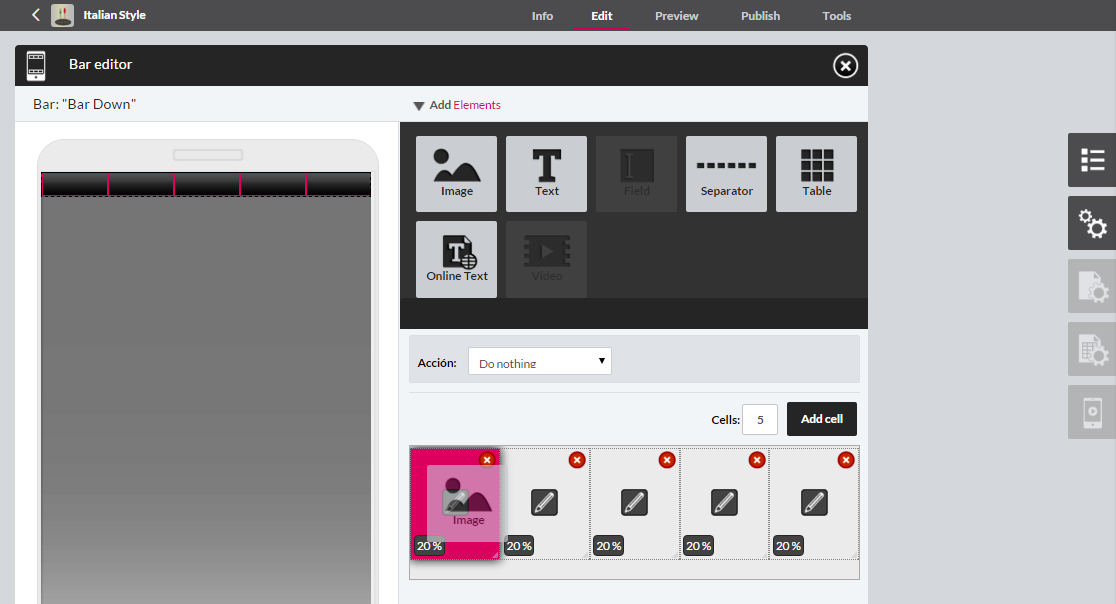
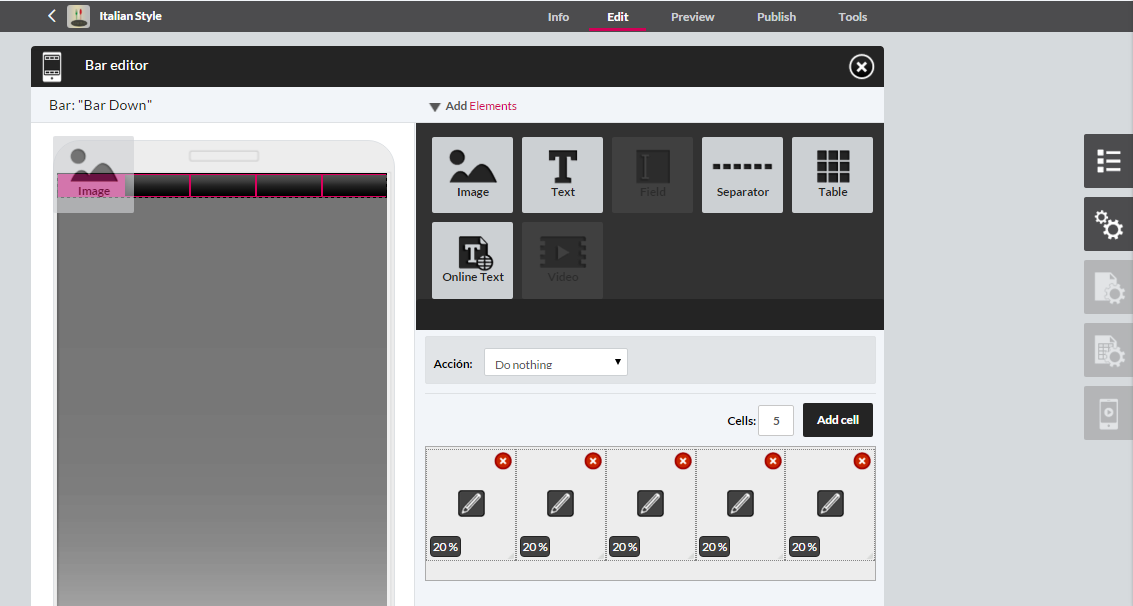
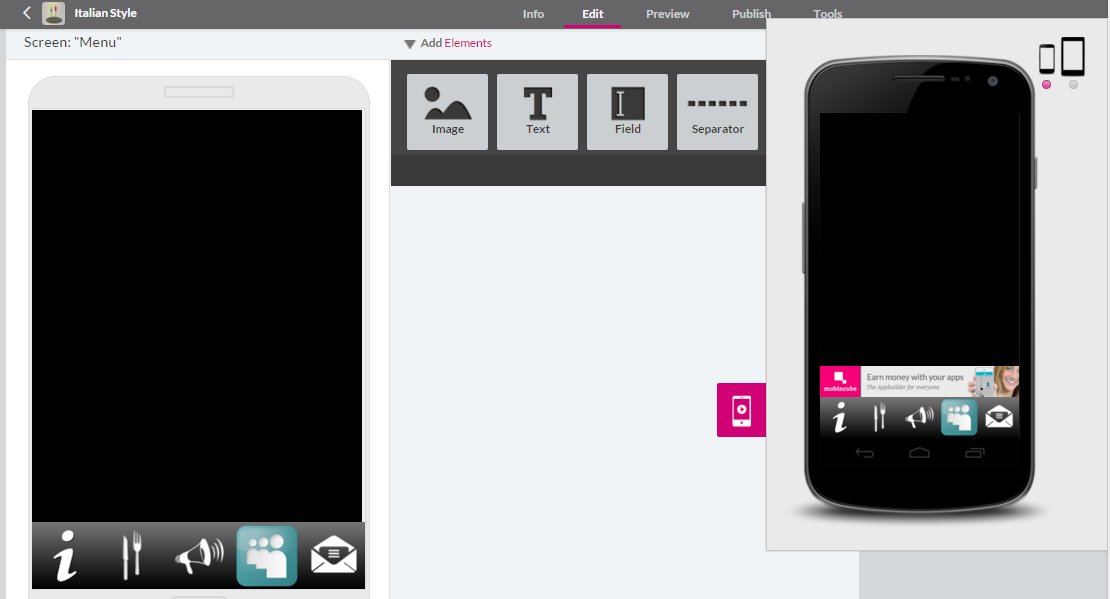
We will create a table with 5 cells in which to insert some icons. We will assign to each cell a 20% size.
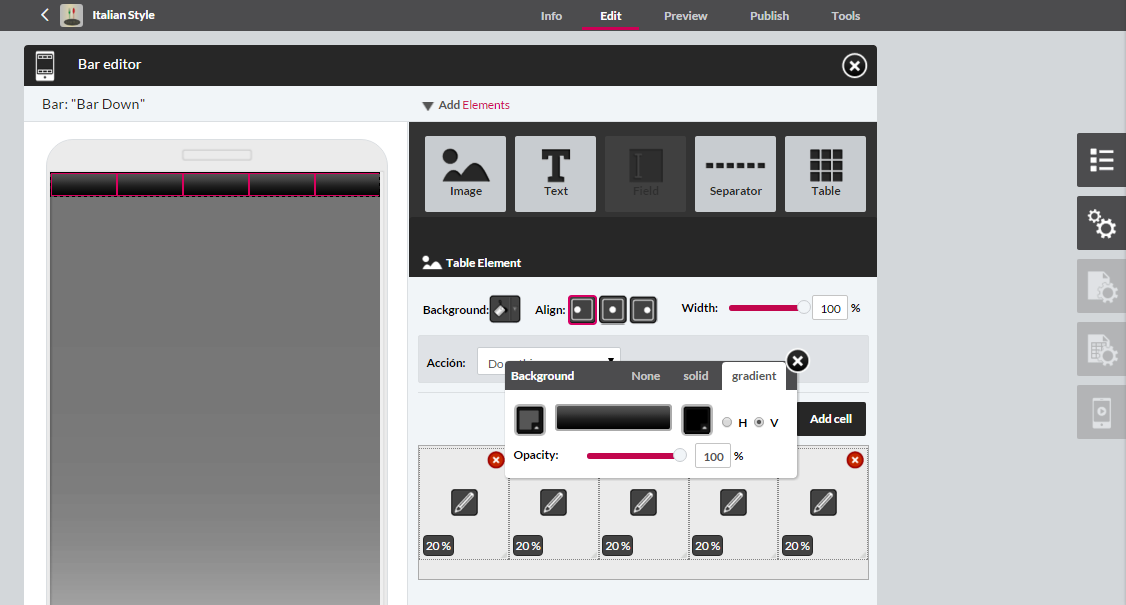
Then, we will establish a background colour to the table. In this case we will use a vertical gradient to give thickness to the table.
In each cell we will insert an Image element by dragging it directly into the cell of the “table element” or into the cell of the screen.
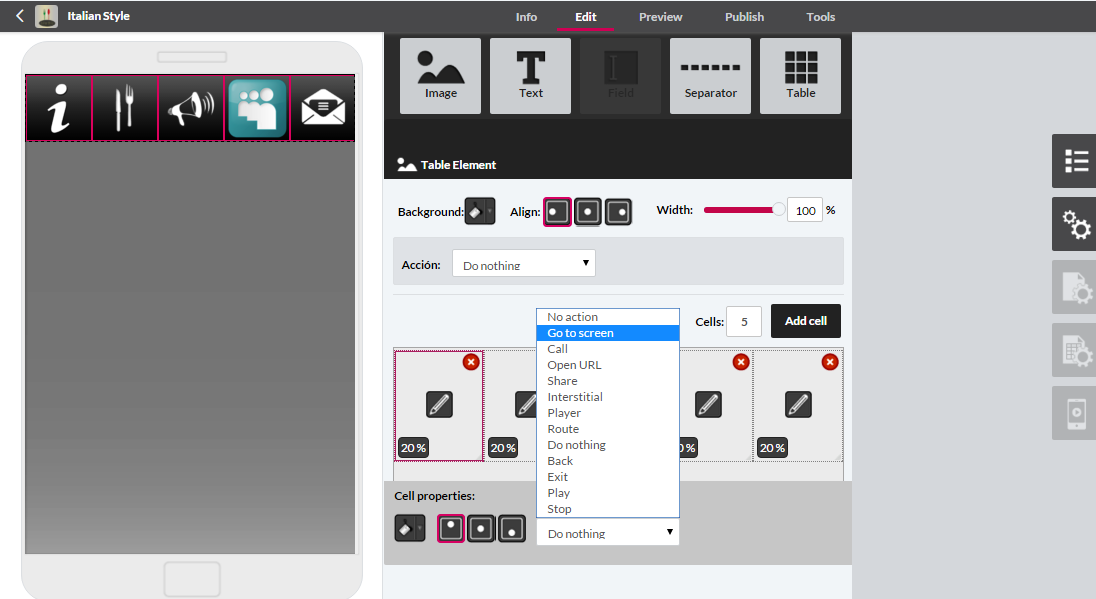
Now we will upload the pictures from the Resources manager and when we have uploaded all the 5 icons, we will assign to each cell an action to execute.
The action can be assigned to the whole cell or directly to the icon image.
In this case we will assign to each cell the action: “Go to screen” to link each one to a specific screen of the app so that, when clicking on it, the page indicated as the destiny of the action will be opened.
When we have assigned all the actions to each respective icon, we can close the page of the bar manager.
Finally, to insert the bar in one of the screens of the app, we have to open the specified screen, then go into the Bar manager icon, in the sidebar Commands and drag the bar, up or down, into the blank screen.
Automatically the bar will appear onto the screen of the app.
We can check what the bar looks like on the simulator.
On Youtube: Header bar