Screen Properties

This tool bar allows us to configure different properties of a screen that we are currently editing. This bar may change depending on the type of the screen that we are editing.
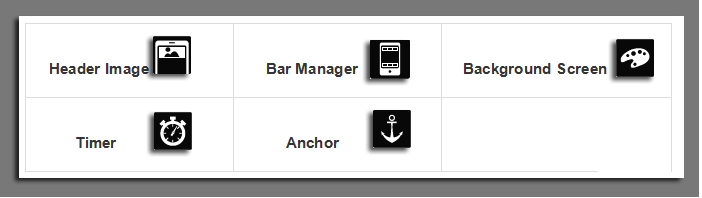
There are properties that are common to all type of screens, such as the HEADER IMAGE, the SCREEN BACKGROUND, TIMER and the ANCHOR.
The options set from the screen properties tab prevail over the ones set from the application properties for the current screen.
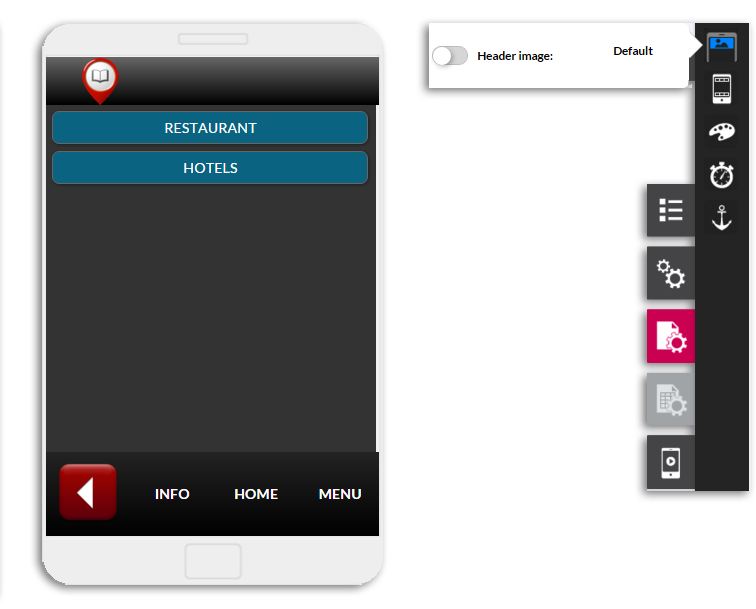
Header image

Header image allows us to set the header of the current screen. If the App has a default header (already set in the App properties), we can allow a certain screen to have a different header or hide the default one.
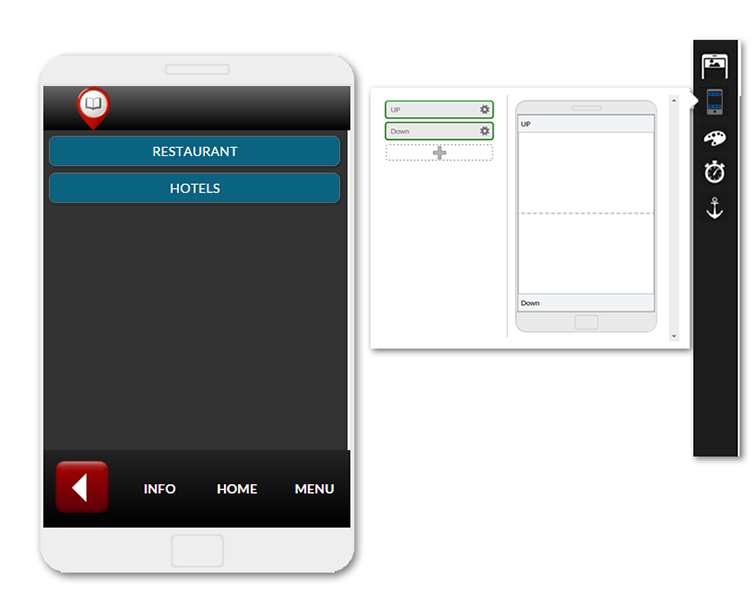
Bar Manager

The Bar Manager allows to create and manage bars like the iOS Tab Bar or a basic Navigation Bar. A bar is just an element that can contain images, texts, tables and helps the users to navigate the App through the different screens. We recommend that you add tables and insert and organize the elements into the tables.
However, the bars are so flexible that you can do whatever you like.
iOS Navigation Bar example

iOS Tab Bar example

To create a bar, you can read the “Step by step” guide: How to create a Navigation Bar:
Managing the bars is really easy.
Once you access the Bar Manager, you can create new bars or delete them. You can also name them for future references.
NOTE: The same bar can be added to different screens.
In Youtube: Header bar
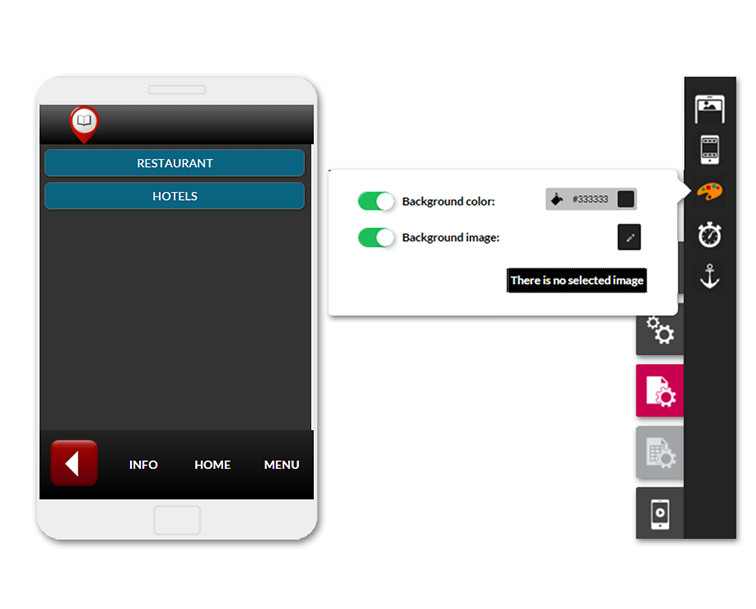
Background Screen

It allows us to change and activate, in the specific screen in which we are working, the background color or a background image of the screen.
If a background color and an image are chosen at the same time, the image will be on top of the background color, showing it on the parts of the screen where there is no image.
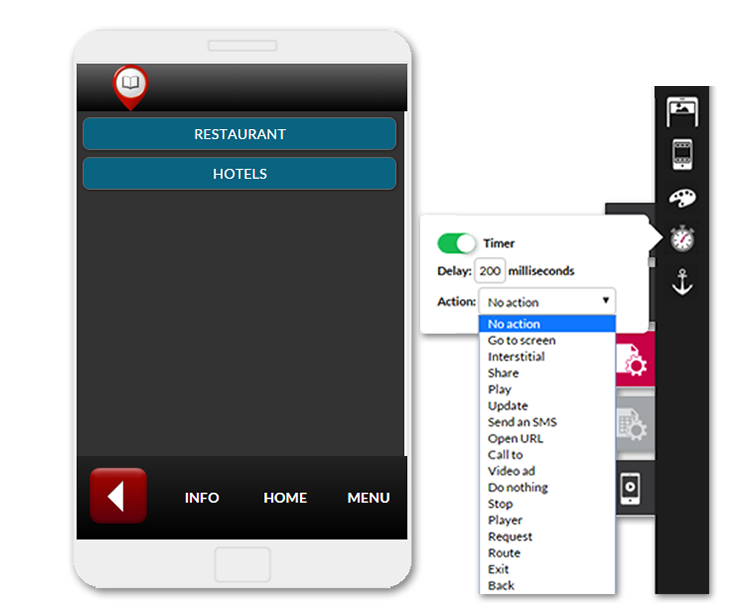
Timer

We can set the Timer to give a certain time to the screen to perform an action. When activated, it displays the “Delay” which introduces the desired milliseconds that we want to show on the screen before performing an action. Once a time frame has been added, we select the actions that we want to be performed on the screen.
Actions can be: to open another screen, make a call, go to a URL.
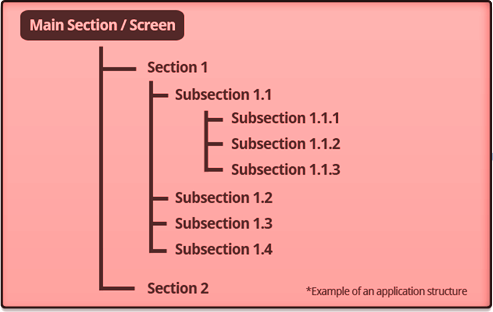
Anchor

An anchor point screen defines a return page/point to which the application will go when the user selects the option “Go back”.
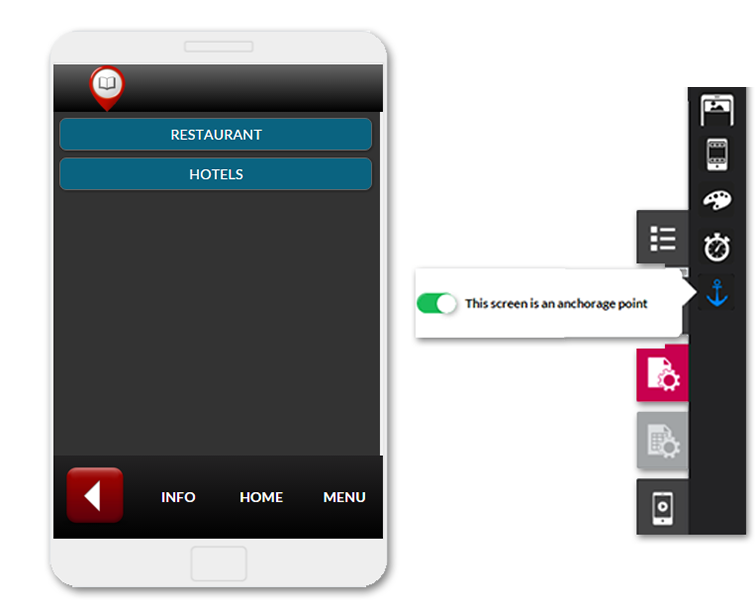
The application will go back to the previous section closest to the established anchor point. All sections are an anchor point by default, so if we want the user to “jump” one or several screens they must be unmarked on each screen.